Since 1.7.0, WP Admin Pages PRO allows you to create your own Dashboard widgets. And it’s as simple as it gets.
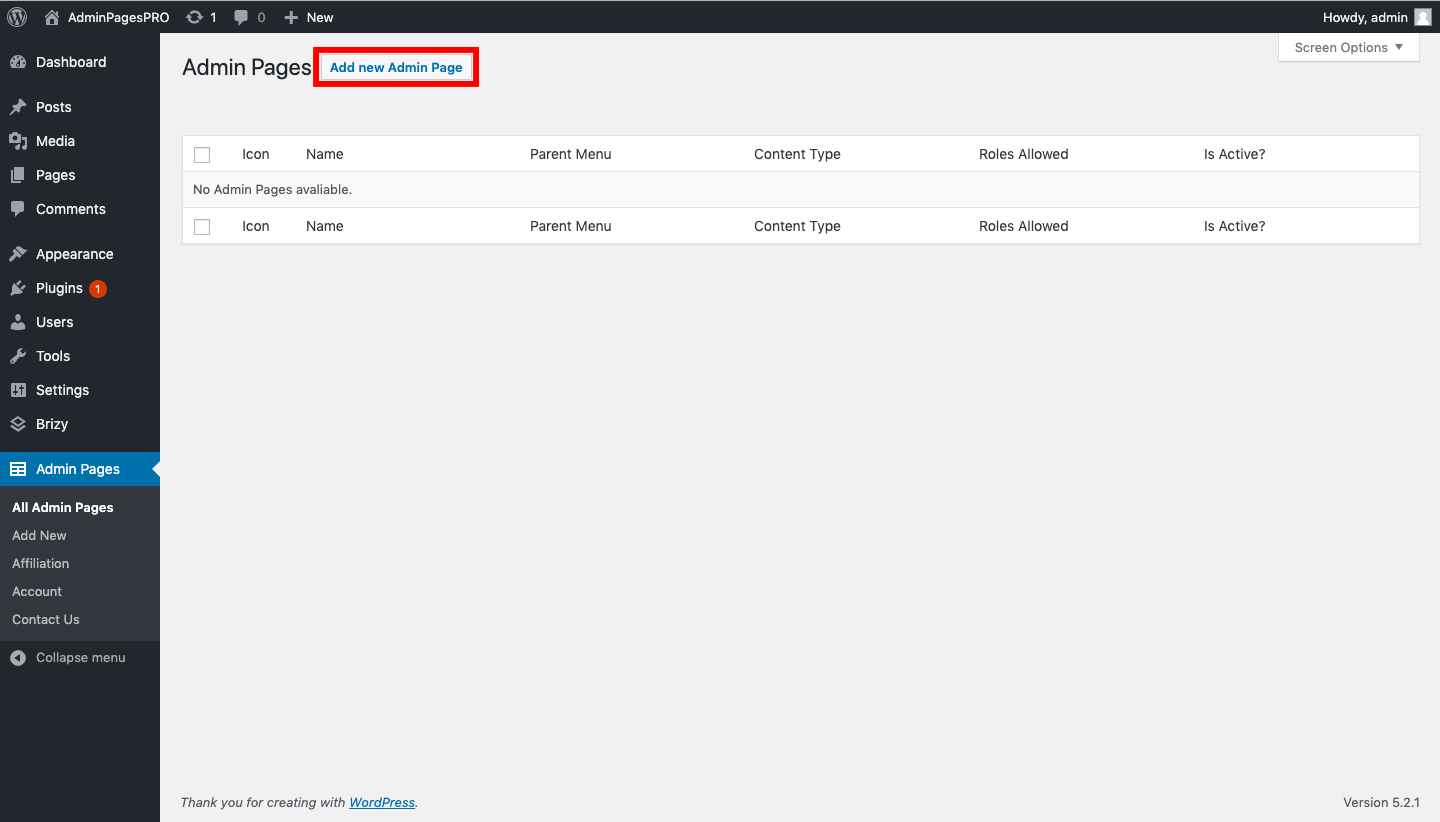
First, go to your Admin Pages menu and clic to Add new Admin Page.
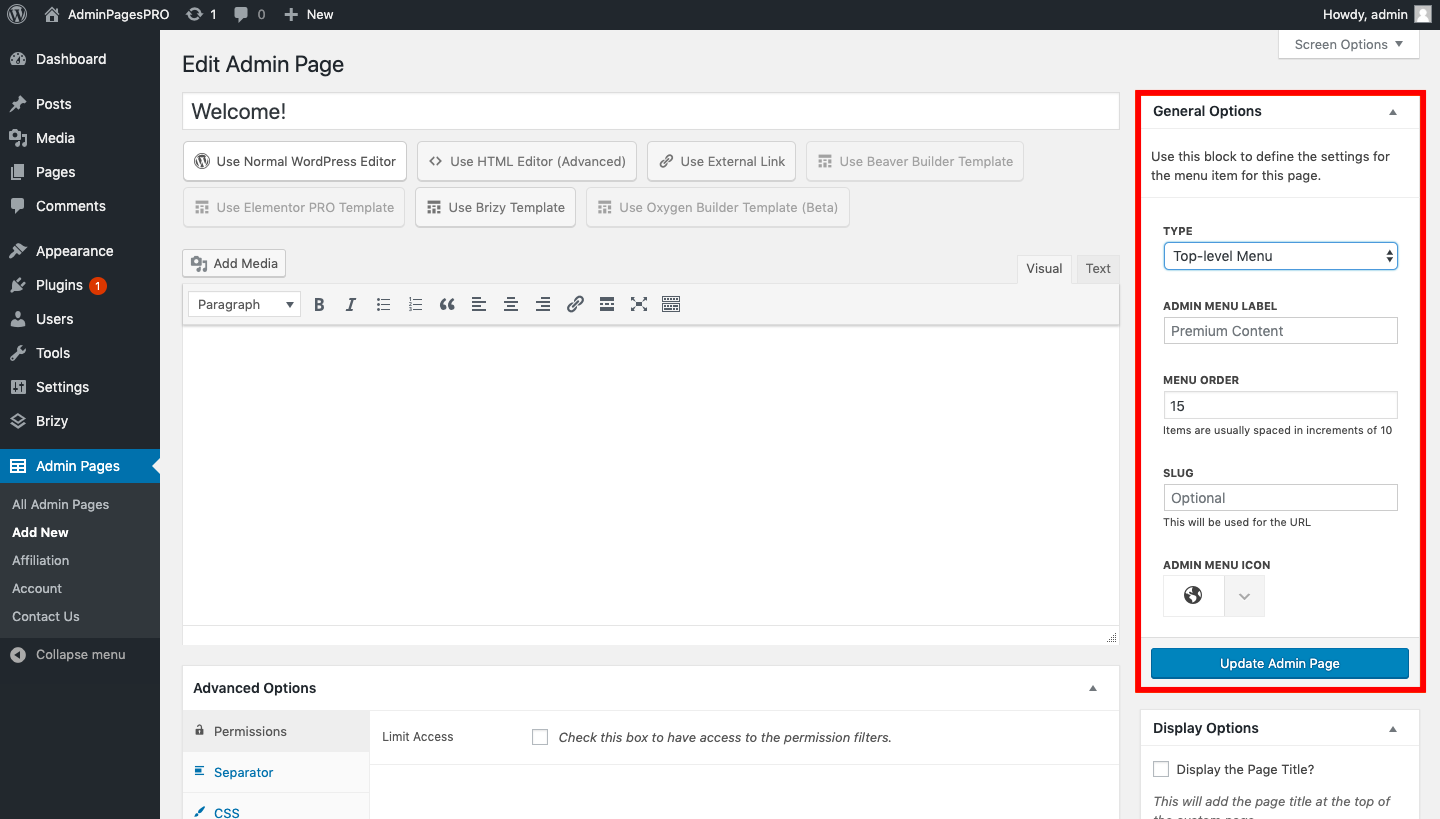
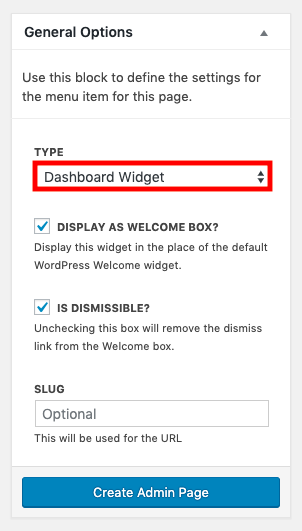
Once you’re on your Admin Page Editor, select Dashboard Widget as the type of your page.
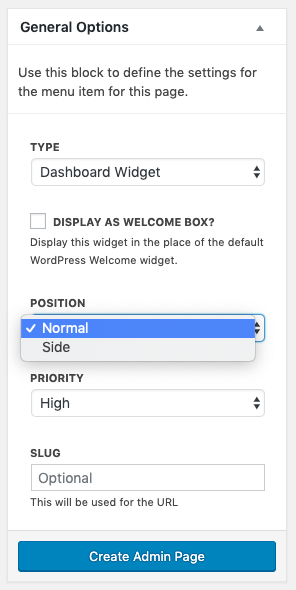
You can choose wether the widget will be displayed as the Welcome Box or in one of the available places (“Normal” or “Side”). You can also define its priority regarding other widgets on the Dashboard.
You will be able to create your widget using any of our options: normal WordPress editor, HTML editor, page builders (for now, we support Brizy, Beaver Builder and Elementor Pro) or external links.
Remember that all Advanced Options, except Separator, also apply to your widget. You can use them, for example, to target specific users.
After you publish your Admin Page, it will show right on your customer’s Dashboard. Here are some examples:
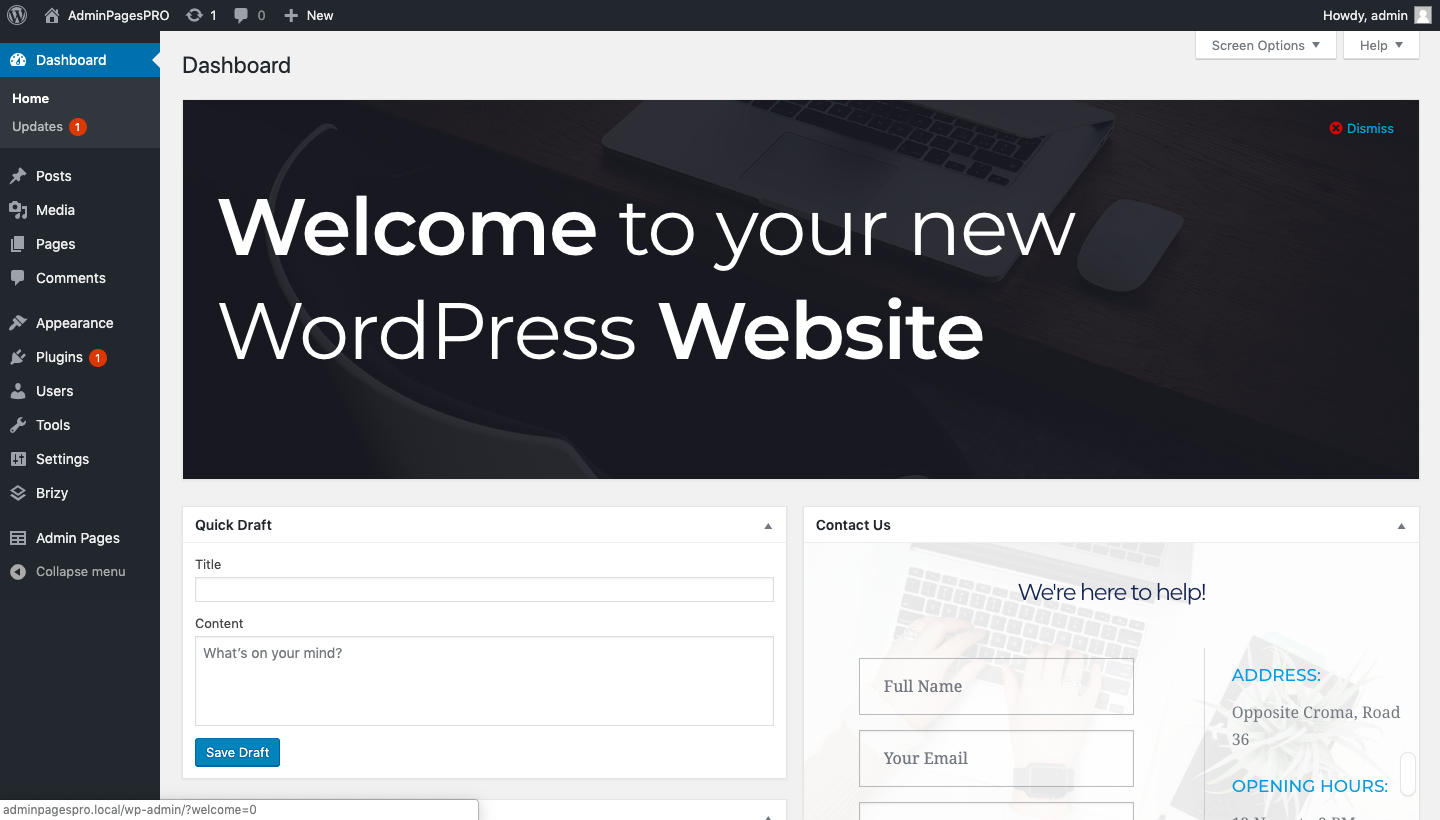
Insert a customized welcome message as the Welcome Box. You can also choose if it’s dismissible or not.
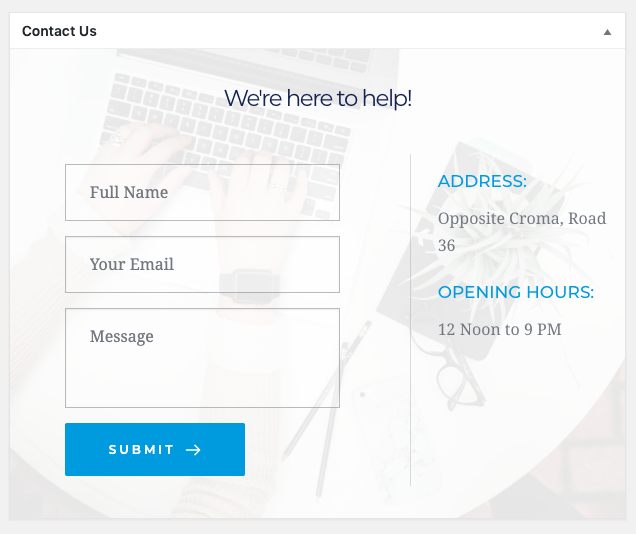
Insert a form right on your customers dashboard and let them easily contact you!
Note: The widget will appear at the place you choose in your admin page editor screen. Once your customer changes it to a different position it will remain there, since this feature saves the user preferences.
Leave A Comment?